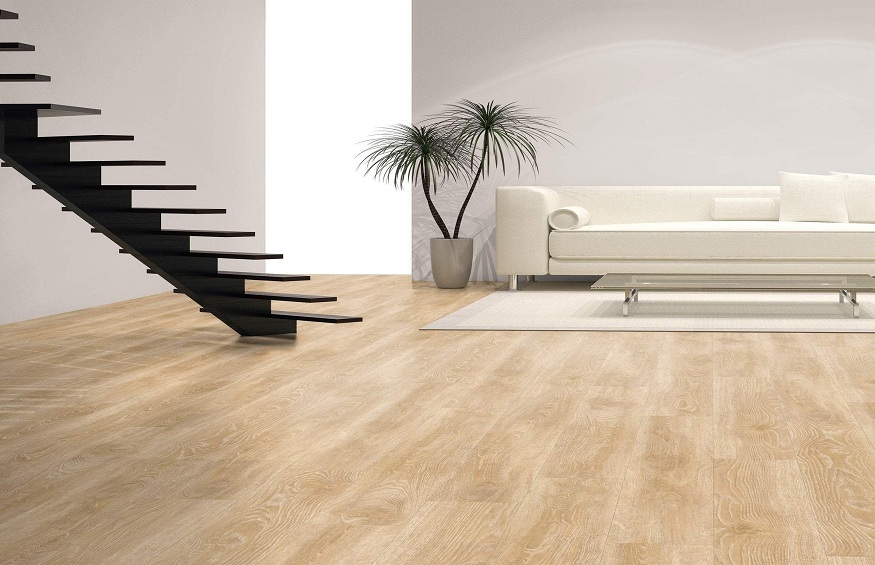
You would like to change the floor of your bathroom , but you do not want to do any work at home, then installing vinyl flooring yourself in your bathroom is the solution!
Do you know what it is ? A material full of versatility and durability at an unbeatable price. And, imagine what’s even better: you’ll have new soil without seeing a speck of dust!
Have we already convinced you? After reading this article, you’ll be eager to forget about your outdated bathroom tiles . Discover the advantages and the different application systems!
Installing vinyl flooring is quick and easy . This type of material has great advantages. But what will blow your mind is that it requires no construction work, you can do it yourself!
Among its most outstanding qualities, its high resistance to different attacks and its non-slip system stand out. In addition, you can clean it very easily!
Have you always wanted a wooden or ceramic floor, but it seems too expensive? With vinyl flooring , you will get the imitation of the material you love the most. It offers an infinite number of very realistic combinations with a truly original finish.
How high to install a TV on the wall in a bedroom?
Its components make it a hygienic and safe material. It prevents the growth of fungi and bacteria. A perfect function if you have children at home. For this reason, it is perfect to place in the bathroom . What do you think ?
Laying vinyl flooring: how to do it?
For vinyl flooring, you can choose between two different shapes, tiles or planks . The difference is that tiles are more square and planks are more rectangular and narrower. The big advantage of planks in terms of design is that you can lay them parallel or herringbone to create a different effect.
As for the system, you have the choice between two systems: self-adhesive or clip-on . Each has a different installation method. Below, you will discover them both, it’s up to you to choose the one you prefer!
Self-adhesive vinyl floor
Self-adhesive planks and tiles can be laid on any surface. However, it must be non-porous! Before you start, be sure to clean and dry it thoroughly. It is not recommended to install this material on carpet or textile coverings. Now let’s start the installation!
Step 1
How are you going to lay the tiles? The first thing to think about is to take the measurements and mark out the space. Use a tape measure to mark the lines for the first rows. We recommend that you start laying them from the center of the bathroom.
2nd step
Now is the time to glue them! Always press them from the center to the edges so that they are firmly stuck. Continue with the same process. There is no rush here: stick them little by little!
Read also: The advantages and disadvantages of an instantaneous water heater
Step 3
Have you reached the ends of the bathroom? This is the most complicated step. Cut the slab to fit the edge.
Place the last piece over the penultimate one and cut it where the penultimate piece ends, before gluing it! Do the same process, but this time on the baseboard. It’s very simple and you’re done!
Both the clip-on vinyl flooring and the adhesive are made from the same components. Resistance and quality are maintained regardless of the technique chosen. The only difference with the previous one is that it is suspended above the ground to avoid humidity problems. So, let’s start with the process!
For the clip-on system you need a little more material than for the self-adhesive system. Don’t worry, these are everyday tools that you probably have in your home. Hammer, cutter, ruler, protractor, plane, chisel, square and, of course, joints.
Of course, it won’t be a bad idea to complete them with mounting adhesive, a vacuum cleaner and, above all, a cushion for your knees! Now it’s on!
The first step, the most important to avoid any later incident, is to remove the plinth and saw off the door frames . Depending on your wall material, the process may be faster or a bit more expensive.
If you have a brick wall, with the hammer and the chisel you can remove it little by little without difficulty. On the other hand, if you have, for example, plasterboard, the process will be slower, because you risk damaging the wall.
For door frames, use the saw. It will only be a few millimeters because the vinyl floor is very thin. But make sure it’s perfect. This is done because this material tends to expand, so leaving space won’t be a problem.
You have already passed the most complicated part! Thoroughly clean the floor on which you are going to install it. You can vacuum to make sure it is perfect. Make sure there are no irregularities. If there are, you have to equalize them, it is very important that you take this into account.
Once you have it, decide in which position you are going to put the slats or the tiles. We recommend installing them perpendicular to the light to give a sense of depth.
Start the installation! Use plastic wedges to mark the boundaries from which you will install the first plank or tile.
Join them together until you reach the end of the row . Just measure the distance and draw on it with a pencil and a ruler. Gently score the line with the cutter, fold it over and you’re ready to hang

